


Installing a European-style door hinge can seem like a daunting task, especially if you're not familiar with the process. However, with the right tools, a bit of patience, and the correct hinges, you can achieve a professional-looking installation. As a door hinge supplier, I've helped many customers with their hinge installation needs, and I'm here to guide you through the process step by step.
Understanding European-Style Door Hinges
European-style door hinges are known for their precision and versatility. They come in various types, including concealed hinges, surface-mounted hinges, and semi-concealed hinges. These hinges are designed to provide a smooth and quiet operation, and they can be adjusted to ensure a perfect fit for your door.
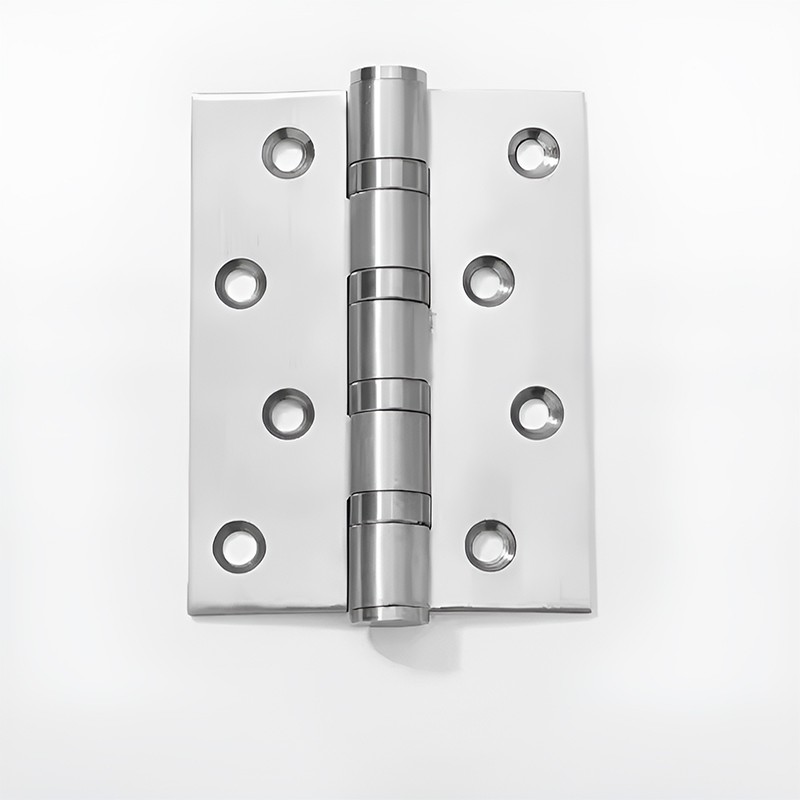
One of the most popular types of European-style door hinges is the Stainless Steel Flush Hinge. This type of hinge is designed to be flush with the door and frame, providing a clean and modern look. Another popular option is the Heavy Duty Hidden Hinges, which are ideal for heavy doors and provide excellent support.
Tools and Materials You'll Need
Before you start the installation process, it's important to gather all the necessary tools and materials. Here's a list of what you'll need:
- European-style door hinges: Make sure you choose the right type and size of hinges for your door. You can find a wide selection of European-style door hinges on our website, including Stainless Steel Flush Hinge.
- Screwdriver: A Phillips or flathead screwdriver, depending on the type of screws used with your hinges.
- Drill and drill bits: You may need to drill holes for the screws if your door and frame don't already have pre-drilled holes.
- Measuring tape: To ensure accurate measurements for hinge placement.
- Pencil: To mark the hinge placement on the door and frame.
- Level: To make sure the door is installed straight.
Step-by-Step Installation Guide
Step 1: Prepare the Door and Frame
- Measure the door: Use a measuring tape to measure the height and width of the door. This will help you determine the appropriate number and placement of hinges. As a general rule, you should use at least two hinges for a standard interior door and three hinges for a heavy exterior door.
- Mark the hinge locations: Place the hinge on the edge of the door and use a pencil to mark the screw holes. Repeat this process for each hinge, making sure they are evenly spaced.
- Mark the frame: Hold the door in place against the frame and use a pencil to mark the corresponding hinge locations on the frame.
Step 2: Drill the Holes
- Pre-drill the holes: If your door and frame don't already have pre-drilled holes, use a drill and the appropriate drill bit to pre-drill the holes for the screws. Make sure the holes are the same size as the screws to ensure a secure fit.
- Be careful not to drill too deep: You don't want to drill through the door or frame. A good rule of thumb is to drill the holes about two-thirds of the way through the material.
Step 3: Install the Hinges on the Door
- Attach the hinges: Place the hinge on the marked location on the door and insert the screws. Use a screwdriver to tighten the screws, but be careful not to overtighten them, as this can damage the hinge or the door.
- Repeat for each hinge: Install all the hinges on the door in the same manner.
Step 4: Hang the Door
- Align the door: Hold the door in place against the frame and align the hinges on the door with the marked locations on the frame.
- Insert the screws: Insert the screws into the holes in the frame and use a screwdriver to tighten them. Make sure the door is level as you install the screws.
- Check the alignment: Use a level to check if the door is straight. If it's not, you can adjust the hinges by loosening the screws slightly and moving the hinge up or down until the door is level. Then, tighten the screws again.
Step 5: Make Final Adjustments
- Test the door: Open and close the door to make sure it operates smoothly. If the door is sticking or doesn't close properly, you may need to make some adjustments to the hinges.
- Adjust the hinges: Most European-style door hinges have adjustment screws that allow you to make fine adjustments to the position of the door. You can adjust the horizontal, vertical, and depth positions of the door using these screws.
Troubleshooting Tips
- If the door is too tight or too loose: Check the hinge screws to make sure they are tightened properly. If the screws are loose, tighten them. If the door is still too tight or too loose, you may need to adjust the hinges using the adjustment screws.
- If the door doesn't close properly: Check if the door is level and the hinges are aligned correctly. You may need to make some adjustments to the hinges or the door frame.
- If the hinges are making noise: Apply a small amount of lubricant to the hinge pins to reduce friction and noise.
Conclusion
Installing a European-style door hinge may seem like a complex task, but with the right tools and a little bit of know-how, you can do it yourself. By following the steps outlined in this guide, you can ensure a professional-looking installation that will provide years of reliable use.
As a door hinge supplier, we offer a wide range of European-style door hinges to meet your needs. Whether you're looking for a Stainless Steel Flush Hinge for a modern look or Heavy Duty Hidden Hinges for heavy doors, we have the perfect solution for you.

If you have any questions or need further assistance with your hinge installation, please don't hesitate to contact us. We're here to help you find the right hinges for your project and ensure a successful installation. Whether you're a DIY enthusiast or a professional contractor, we look forward to working with you on your next door hinge project.
References
- "Door Hinge Installation Guide," Home Improvement Handbook.
- "European-Style Door Hinges: Types and Installation," Hardware Today Magazine.